
The Biggest Problem
When I’m asked to speed up a website, most of the time, images are a major problem. Not many people actually optimize their images properly. They use the wrong file type, the wrong dimensions, they don’t compress them properly if at all.
This section will go over how to properly optimize your images.
Step 1: File Type
The first thing you need to do is determine what file type your image needs to be: PNG, JPG/JPEG, WEBP, SVG.
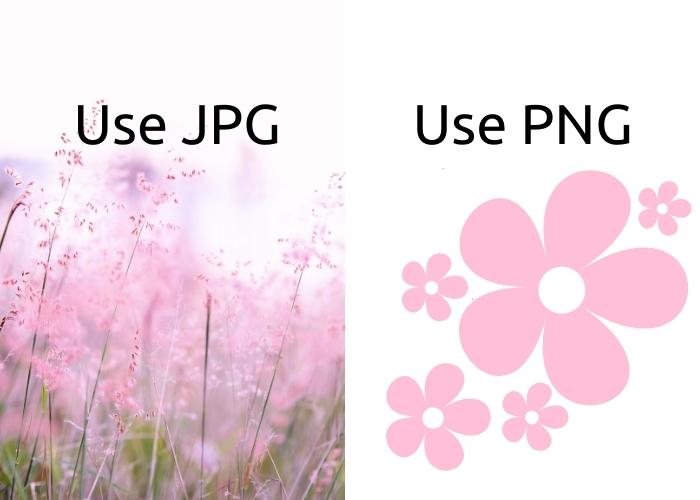
PNG: Use this file type for logos and graphics.
JPG/JPEG: Use this file type for photographic images.
WEBP and SVG: Better than PNG and JPG, but it’s not supported by all browsers, so if you use it, not all users might see the image.


Step 2: File Size
If your image only displays on your site as 500×500 pixels, and you’ve uploaded a 1000×1000 pixel image, you’re wasting a lot of space. Even if your image displays as smaller on the website, it still has the file size of the larger image.
Resize your images before uploading them to your website to keep your file size down.
Note: Canva does offer image compression, but it is not recommended you use Canva image compression. Turn the jpg quality up to 100%, then compress the image with another tool, such as tinypng.com.


Step 3: Image Compression
Not many people compress their images, some are even scared of doing so since it can decrease your image quality. But, if you do it right, you can maintain image quality and decrease the file size of your images.
My recommendation is to run all your images through tinypng.com before uploading them. It can reduce your file size up to 80%, especially if they are PNGs.


Unused Images
When building or updating a website, it can be easy to forget to delete the images that aren’t being used. But, those unused images will build up over time and start to slow down your servers. Remembering to regularly clean out your media folder is critical to keeping your website speed up.
Summary Of The Three Steps
My recommended method is to resize the images in either photoshop or canva.com (Make sure it is the right file type as well), then use tinypng.com to compress those image and reduce the file size further.
What File Size Should I Aim For?
Depending on the size and complexity of your image, you might not be able to reduce your file size as much as you want to. As long as you can reduce it as much as you can without compromising image quality, you’re good to go!
My general guidelines:
-For images 1000 px or wider, aim for a file size below 300 kb.
-For images around 750 px wide, aim for under 150 kb.